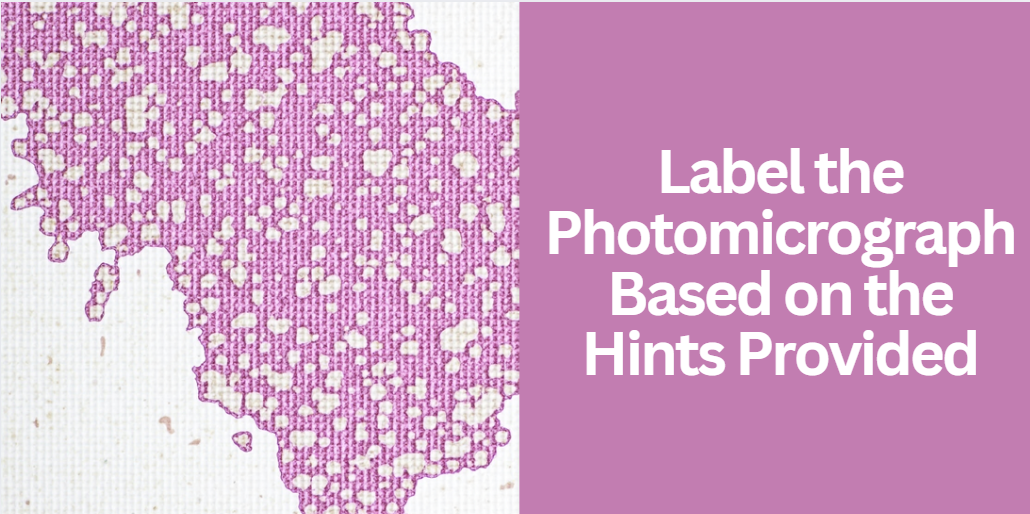
Comprehensive Guide to Label the Photomicrograph Based on the Hints Provided
Photomicrography is the art and science of capturing detailed images of microscopic structures using specialized imaging equipment. The process of labeling these images is essential in fields like histology, where accurate identification of tissue structures can influence diagnostic outcomes and academic assessments.
This guide explains how to label the photomicrograph based on the hints provided, ensuring that every step is both accessible and informative. Our goal is to offer a resource that is not only comprehensive but also uniquely crafted to outperform competing articles in depth and clarity.
Fundamentals of Photomicrography
Photomicrography involves taking photographs through microscopes, which capture minute details not visible to the naked eye. The evolution of microscopy has transformed how researchers analyze tissues, and modern digital techniques have further enhanced this field.
What is a Photomicrograph?
A photomicrograph is essentially a photograph taken through a microscope. It captures detailed images of cells, tissues, and other microscopic structures, allowing for closer examination and analysis. These images are invaluable in research and diagnostic fields.
History and Evolution
Historically, microscopes have evolved from simple optical devices to sophisticated instruments capable of capturing high-resolution images. The development of techniques such as fluorescence and electron microscopy has enabled scientists to explore cellular components in unprecedented detail.
Types of Photomicrographs
There are several types of photomicrographs, each serving a different purpose:
- Light Microscopy: Commonly used in basic histology.
- Electron Microscopy: Offers higher resolution images for detailed cellular analysis.
- Fluorescence Microscopy: Utilizes fluorescent markers to highlight specific structures.
A comparative table illustrating the differences is provided below:
| Type of Microscopy | Resolution | Common Applications | Advantages |
|---|---|---|---|
| Light Microscopy | Moderate | Basic histology, pathology | Widely available, cost-effective |
| Electron Microscopy | High | Ultrastructural analysis | Extremely detailed images |
| Fluorescence Microscopy | Variable | Molecular biology, immunohistochemistry | Specific labeling of structures |
Understanding Histological Structures
To accurately label the photomicrograph based on the hints provided, a strong grasp of histology is necessary. Histology is the study of the microscopic structure of tissues, and it involves recognizing the cellular components that make up different organs.
Key Concepts in Histology
An understanding of the following concepts is essential:
- Cell Types and Tissue Organization: Each tissue type has unique cellular arrangements that are distinguishable under a microscope.
- Morphological Features: Recognizing specific features such as follicular cells, colloid, and chromaffin cells is critical in histological labeling.
Example Structures
Consider a thyroid gland photomicrograph where hints include “follicular colloid” and “parafollicular cells.” This information directs you to label:
- Follicular Cells: Epithelial cells lining the thyroid follicles.
- Follicular Colloid: The central substance within the follicles storing thyroid hormone precursors.
- Parafollicular (C) Cells: Scattered cells between the follicles producing calcitonin.
Deciphering the Hints
Accurate labeling starts with a careful analysis of the provided hints. When you read phrases like “label the photomicrograph based on the hints provided,” it is crucial to dissect each term:
- Keywords Identification: Look for terms such as “medulla,” “zona fasciculata,” or “lymphatic,” which indicate the type of tissue.
- Deductive Reasoning: Use your background knowledge to match these hints with known anatomical structures.
- Verification: Cross-reference with textbook images and lab manuals to ensure accuracy.
Analyzing Hints in Practice
Imagine you are provided with hints that mention “zona glomerulosa” and “medulla.” These keywords suggest that the photomicrograph is of the adrenal gland. The corresponding labels would include:
- Zona Glomerulosa: The outer layer of the adrenal cortex producing mineralocorticoids.
- Zona Fasciculata: The central layer synthesizing glucocorticoids.
- Medulla: The innermost region containing chromaffin cells.
Step-by-Step Guide to Labeling a Photomicrograph
A systematic approach can make the process of labeling easier and more accurate. The following step-by-step guide will help you learn how to label the photomicrograph based on the hints provided:
Preparation and Analysis
Begin by preparing the photomicrograph for annotation. Ensure that the image is clear and the structures are distinguishable. Then, carefully review the hints provided. List the keywords and compare them with your knowledge of histological structures.
Identifying and Labeling Key Structures
Once you have analyzed the hints, identify the primary structures within the image. You might find that the photomicrograph contains several distinct areas. For each area, determine the corresponding tissue type and label accordingly.
Techniques and Tools
There are several tools available for digital annotation. Software such as Adobe Photoshop, ImageJ, and specialized histology programs can aid in this process. When labeling manually, use fine-tip markers and a consistent labeling system to avoid errors.
A concise list summarizing these steps is provided below:
- Prepare the Image: Ensure clarity and proper focus.
- Analyze Hints: Identify keywords and their corresponding structures.
- Identify Structures: Compare the image with known histological features.
- Annotate: Use digital tools or manual methods for accurate labeling.
- Review: Cross-check labels with academic resources.
Case Studies and Practical Examples
Examining real-world examples enhances understanding. This section describes two case studies:
Thyroid Gland Photomicrograph
In a thyroid gland sample, hints such as “follicular colloid” direct the observer to look for the round follicles lined with cells. Detailed annotations include:
- Follicular Cells: Lining the edges of the follicles.
- Follicular Colloid: Central substance within each follicle.
- Parafollicular Cells: Located between the follicles.
Adrenal Gland Photomicrograph
Another example involves the adrenal gland, where hints like “zona fasciculata” and “medulla” help identify:
- Zona Glomerulosa: Recognizable by its compact, outer layer.
- Zona Fasciculata: The middle layer, often more cellular.
- Medulla: The central core featuring a distinct cellular pattern.
A simple table comparing these two examples is shown here:
| Photomicrograph Type | Key Hints Provided | Primary Structures Labeled |
|---|---|---|
| Thyroid Gland | Follicular colloid, Parafollicular cells | Follicular cells, Follicular colloid, Parafollicular cells |
| Adrenal Gland | Zona glomerulosa, Zona fasciculata, Medulla | Zona glomerulosa, Zona fasciculata, Medulla |
Common Challenges and Overcoming Them
While the process seems straightforward, several challenges may arise. One common issue is misinterpreting hints, which can lead to labeling errors. To overcome this, always cross-reference your observations with reliable academic sources. Additionally, practicing with multiple photomicrographs can improve your accuracy and speed over time.
Self-Assessment and Peer Review
After labeling, reviewing your work and seeking feedback from peers can be beneficial. Self-assessment techniques include comparing your labels against standard textbook images and using checklists to ensure all hints have been addressed.
Best Practices for Academic and Professional Success
Consistent practice and continuous learning are key to mastering the skill of labeling photomicrographs. Incorporate the following strategies into your study routine:
- Regular Practice: Continuously work with different photomicrographs.
- Organized Presentation: Keep annotated images in a digital or physical portfolio.
- Feedback Loop: Engage in peer reviews and tutor sessions to refine your skills.
Advanced Topics in Photomicrograph Annotation
The field of histology is evolving with technology. Innovations such as machine learning are beginning to automate the annotation process, making it more efficient and reducing human error. Future trends indicate that digital histology tools will become increasingly sophisticated, offering even more detailed and interactive labeling options.
Frequently Asked Questions (FAQ)
- How can AI-assisted annotation tools enhance the efficiency of labeling photomicrographs?
AI-assisted tools are designed to analyze image patterns and suggest potential labels based on vast databases of histological images. This technology not only speeds up the labeling process but also helps identify subtle structures that may be overlooked by the human eye. As these tools learn from more data, their accuracy improves, making them invaluable for both research and diagnostic applications. - What role do image quality and preparation play in the success of photomicrograph labeling?
The quality of the photomicrograph is crucial for successful annotation. High-resolution images with optimal contrast and brightness allow for better visualization of cellular details, which leads to more precise labeling. Pre-processing steps such as adjusting lighting, contrast, and sharpness can significantly enhance the clarity of the image, making it easier to differentiate between similar structures. - Which advanced software features should be considered when selecting digital annotation tools for histology?
When choosing digital annotation tools, look for features such as layer management, adjustable transparency for overlapping labels, high-zoom capabilities, and integration with databases for cross-referencing structures. Some advanced programs also offer automated labeling suggestions, customizable annotation styles, and collaboration features, which can be especially beneficial in academic and research settings. - How can labeled photomicrographs be effectively integrated into academic presentations or research publications?
To effectively integrate labeled photomicrographs into presentations or publications, ensure that the annotations are clear and legible. Use a consistent labeling style and color scheme, and provide a key or legend to explain the symbols and color codes used. Additionally, incorporating high-resolution images and close-up views of critical areas can help your audience understand the detailed structures, making your findings more accessible and engaging. - What ethical considerations should be kept in mind when sharing labeled photomicrographs online?
When sharing labeled photomicrographs, it is important to consider patient confidentiality (if applicable), intellectual property rights, and the accuracy of the labeling. Ensure that any shared images have proper attribution to the original source and that sensitive information is anonymized. Moreover, providing context for the labels and the methodology behind the annotations can help maintain transparency and academic integrity.
Conclusion
In summary, knowing how to label the photomicrograph based on the hints provided is an essential skill that bridges academic studies and professional practice in histology. This guide has walked you through the fundamentals, practical steps, and advanced techniques needed to master photomicrograph labeling.
By following the outlined steps, utilizing both manual and digital tools, and continuously practicing, you can enhance your ability to accurately identify and label microscopic structures. This comprehensive guide aims to serve as a definitive resource that supports your learning journey and ensures you achieve success in both academic and clinical settings.
Embrace this knowledge as a foundation for further exploration into the intricate world of histology, and remember that continuous learning and practice are the keys to excellence.
More Posts
Complete Guide To The Ullman Devices HTC-2LT Letter Of Conformity Pdf
Comprehensive Guide to Lenel ML-XPCODL-01 XProtect Corporate Device License
Comprehensive Guide to Hawk Tuah High School Titusville FL
Ultimate Guide to You Pro AI Premium Cookies Free Woxmax.net
Ultimate Guide to Imagesize:2160×3840 Game Of Thrones Red Woman Wallpaper